Pre-installation
Step by step: how to install a TapBoost by Salamander Pumps
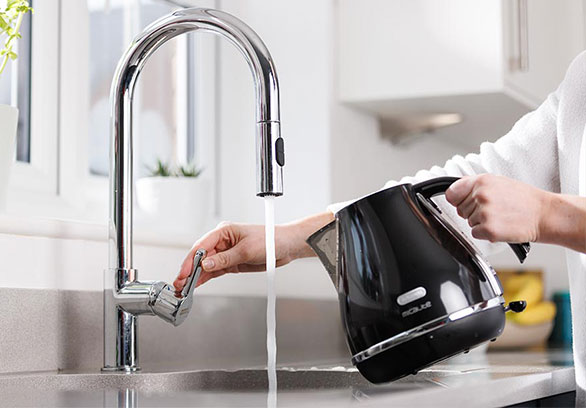
Trickling taps are a nuisance, especially in a frequently used location like the kitchen or bathroom. TapBoost offers a cost-effective and DIY-friendly solution to improve the water flow to a single outlet.
Here, we explain how you can install a TapBoost pump in your own home:
Tools you might need:
- Screwdriver (flathead/slotted)
- Pencil and tape measure
- Bucket and old towels
- Pipe cutter (15mm or 22mm)
- PTFE tape
- Adjustable spanner
- Adjustable pliers
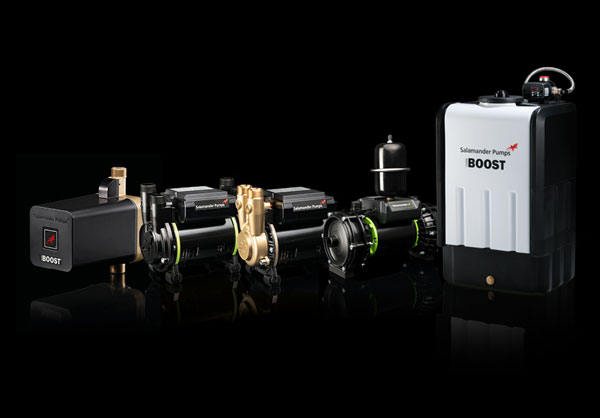
Step 1: Unbox the pump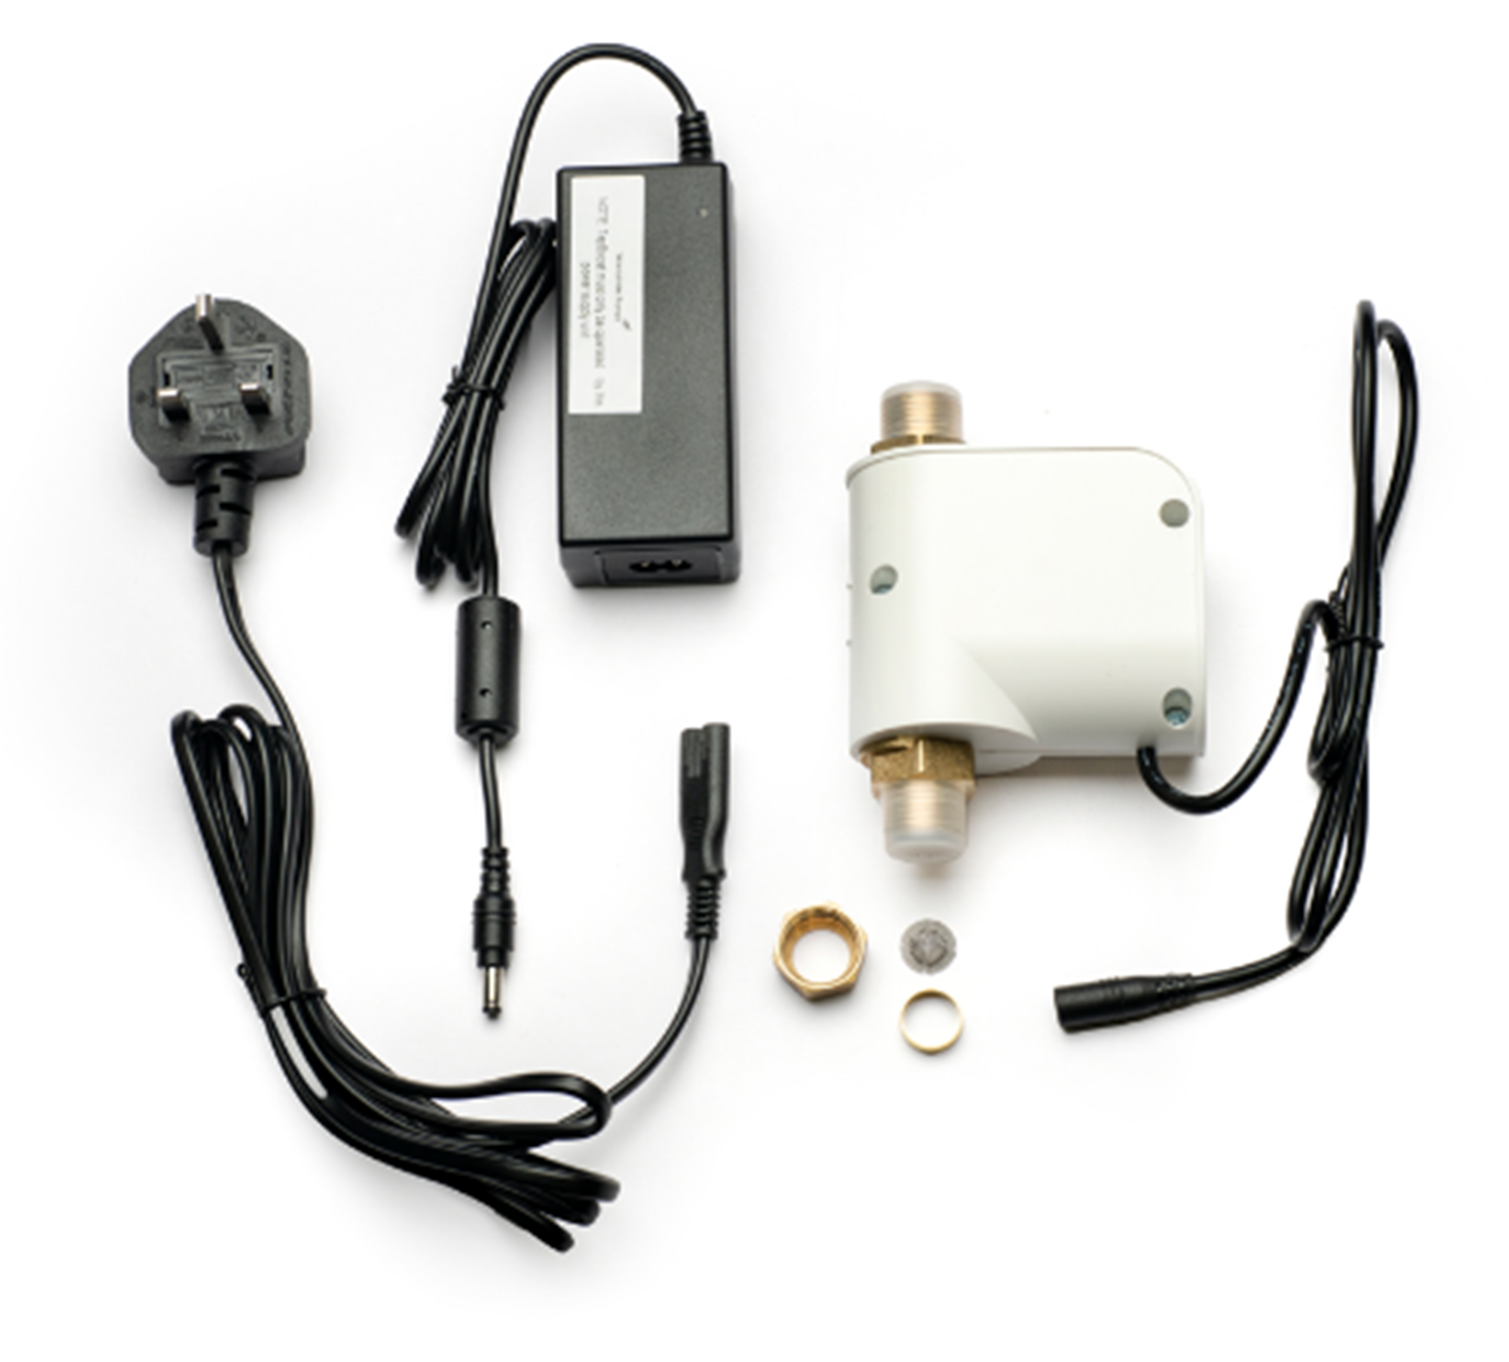
Begin by unboxing the pump and reading the enclosed literature. Although it may seem obvious, the installation guide should always be your first port of call.
The box will include:
- 1x TapBoost pump (with 0.95m cable)
- 1x Power supply unit (with 1.15m cable)
- 1x Power supply unit mains cable (with 1.9m cable)
- 1x 15mm inlet compression nut
- 1x 15mm inlet compression olive
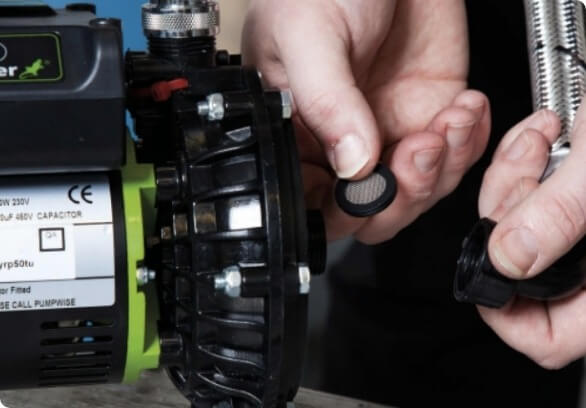
- 1x Spare inlet filter (one is pre-fitted to the pump inlet)
- 1x TapBoost installation and warranty guide
Step 2: Determine the installation location
The best possible installation location is directly before the outlet to be boosted:
Further considerations for choosing the installation location are available on page 4 of the TapBoost installation guide.
Prepare the area where TapBoost will be installed by clearing the space and making sure you have something to catch any residual water, such as a bucket and old towels.
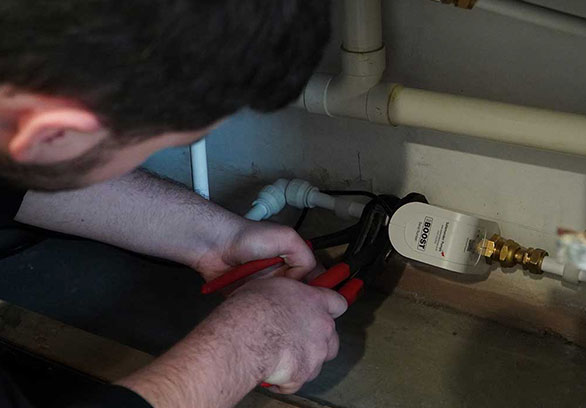
Step 3: Connect TapBoost
Turn off the incoming water supply to the outlet by closing the stop tap or an isolation valve before the outlet then opening all the outlets in the system until completely drained. You may need a screwdriver to close the isolation valve (flat head/slotted).
If you are installing TapBoost in-line in the pipework (i.e., pipework will be connected before and after TapBoost) see section titled: 1. Installing TapBoost in-line in the pipework
If you are installing TapBoost to inlet pipework and a tap hose see section titled: 2. For pipework inlet and tap hose outlet connection
1. Installing TapBoost in-line in the pipework
Next you need to use the tape measure and pencil to mark the section of pipe to be removed to allow for TapBoost to be fitted. When you’re confident with the section to be removed, cut and remove the section of pipe. You can cut the pipe using a pipe cutter, either 15mm or 22mm depending on the pipework size.
You can then create the connection between TapBoost and the inlet and outlet pipework:
For 15mm pipework: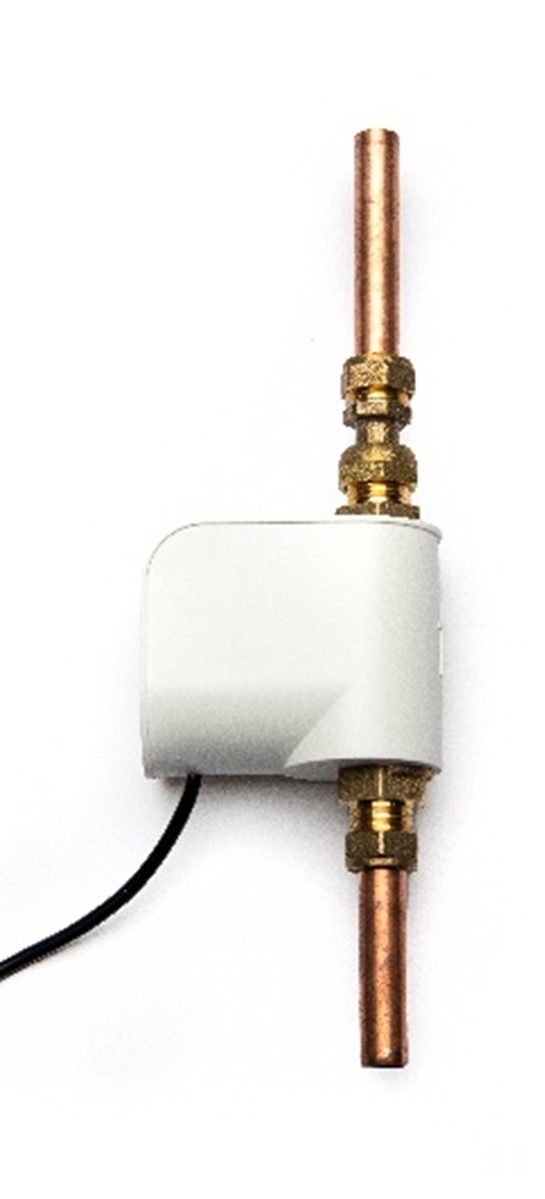
- Inlet connection:
- TapBoost is supplied with a 15mm compression nut and olive to connect to 15mm inlet pipework.
- Slide the 15mm compression nut then the olive onto the inlet pipework.
- Screw the nut onto the inlet threads of TapBoost.
- You will need to use adjustable pliers and a spanner to tighten the fitting, be careful not to overtighten.
- Outlet connection:
- Salamander Pumps offers the TapBoost outlet connector (1/2” to 15mm compression) to easily connect TapBoost to 15mm outlet pipework.
- Slide the 15mm compression nut then the olive onto the outlet pipework.
- Insert the flat washer to the ½” connection of the fitting, then screw onto the threads of the TapBoost outlet.
- You will need to use adjustable pliers and a spanner to tighten all connections, be careful not to overtighten.
For 22mm pipework: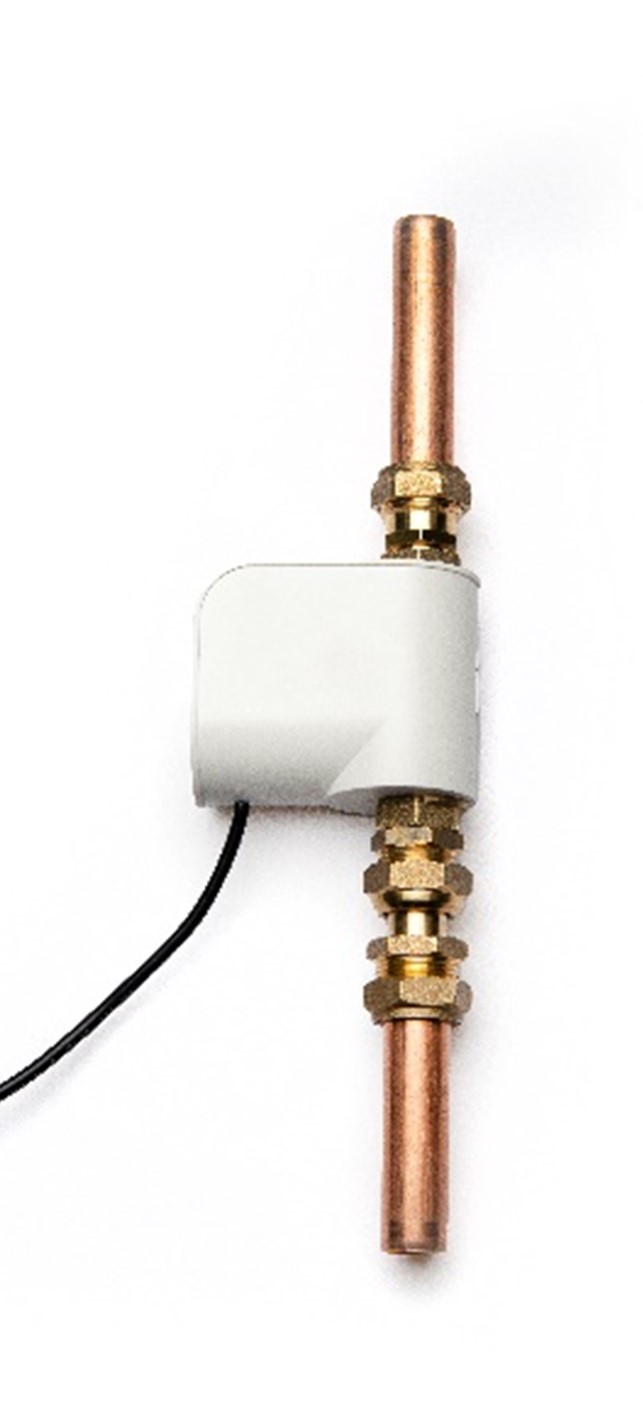
- Inlet connection:
- Salamander Pumps offers a TapBoost Inlet/Outlet 15mm to 22mm Converter Kit to connect TapBoost to 22mm pipework.
- Screw the ½” connection of the ¾” x ½” brass bush to the threads of the TapBoost inlet.
- Insert the flat washer to the ¾” fitting of the ¾” to 22mm compression tap connector, then screw onto the brass bush.
- Slide the nut then the olive of the 22mm compression fitting onto the inlet pipework, then screw the nut onto the thread.
- You will need to use adjustable pliers and a spanner to tighten all connections, be careful not to overtighten.
- Outlet connection:
- Screw the ½” to 22mm compression tap connector included in the converter kit onto the TapBoost outlet.
- Slide the nut then the olive of the 22mm compression fitting onto the outlet pipework. Then screw the nut onto the thread.
- You will need to use adjustable pliers and a spanner to tighten all connections, be careful not to overtighten.
2. For pipework inlet and tap hose outlet connection:
When installed on mains water, detachable hose sets must not be used, it must be installed onto rigid pipework and adequately supported.
Follow the steps below for installing to detachable hose sets in a gravity fed system:
- Outlet connection:
- Disconnect the hose connection. There are various hoses available with different connections, you might need to unscrew the connection using adjustable pliers and a spanner or if push-fit connections are used you will need to release the gripper ring then pull out the pipe.
- Make the connection to TapBoost. The TapBoost outlet connection is ½” BSP male, if the hose has a ½” BSP female a direct connection can be made. Otherwise a conversion will need to be made.
- Inlet connection:
- Follow the inlet steps in the section installing TapBoost in-line in the pipework
Step 4: Commission the pump
To successfully activate the pump on first operation, you must first turn on incoming water supply to the pump and refill the system. Check the connections and pipework for leaks.
After this, open the outlet to be boosted and check for natural flow from the outlet, ensuring all air is purged from the system. You should also check the connections and pipework for leaks.
With the outlet open, plug in the electrical supply to TapBoost and turn on. TapBoost will then enter ‘Boosting Mode’ (indicated by a blue flashing light on the pump) and increase the water flow to the outlet.
Close the outlet and the pump will stop. The blue light will stay on to indicate it has entered ‘Standby Mode’. The pump will remain in ‘Standby Mode’ until the outlet is opened, when it will again begin boosting the flow.
When the pump is in ‘Standby Mode’ for more than 5 minutes, the blue LED on the pump will turn off until the outlet is opened again and the pump enters ‘Boosting Mode’ again.
Final steps
Make sure to re-check the full installation for any possible leaks before tidying up. Keep relevant literature and register the warranty at https://www.salamanderpumps.co.uk/warranty-registration.php