Pre-installation
Top Tips Before Installing TapBoost
Installing TapBoost is a simple and effective way to improve water flow at a single outlet. However, to ensure a smooth installation process and optimal performance, there are a few key considerations to keep in mind. Follow these top tips before getting started with your TapBoost installation:
-
Read the Installation Manual
Before starting the TapBoost installation, it is vital to read our TapBoost installation guide.
-
Identify the System
It’s crucial to identify your water system to ensure compatibility, before installing TapBoost. There are 3 main systems to be aware of:
- Gravity fed – These systems are identified by a hot water cylinder usually stored in an airing cupboard, and a large cold water storage tank, often located in the loft
- Mains fed: Combi boiler – These systems are identified by a wall hung boiler. In a combi boiler system hot water is available on demand, and there are no water storage tanks.
TapBoost can be installed to a hot or cold singe outlet in a gravity fed or combi boiler system.
-
- Mains fed: Unvented – These systems are identified by a wall hung boiler and metal-clad hot water storage tanks and no cold-water storage.
TapBoost can only be installed to a cold outlet in an unvented system.
Check out our pre-installation guide How to identify your water system for more information.
-
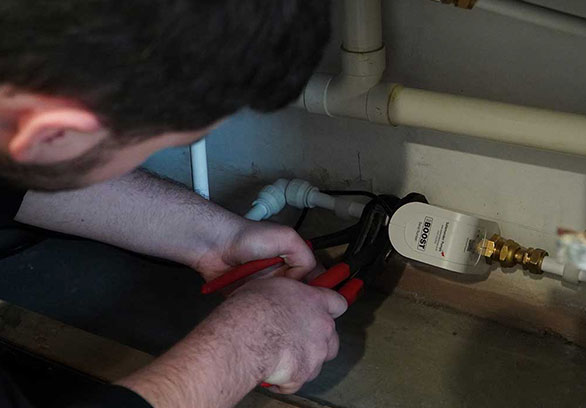
Identify Where You Are Going to Plug TapBoost In
Make sure a plug socket is available near the TapBoost installation. The pump comes with a 4-meter power cable and 3-pin plug, if the planned site of installation is further away from a plug socket we also offer a TapBoost low voltage extension lead 5-meter.
If you plan to install TapBoost in a bathroom or shower room, there are a few additional considerations to take into account. TapBoost and the power transformer must be installed in Zone 2 of the bathroom electrical zones that have been identified in the IET wiring regulations.
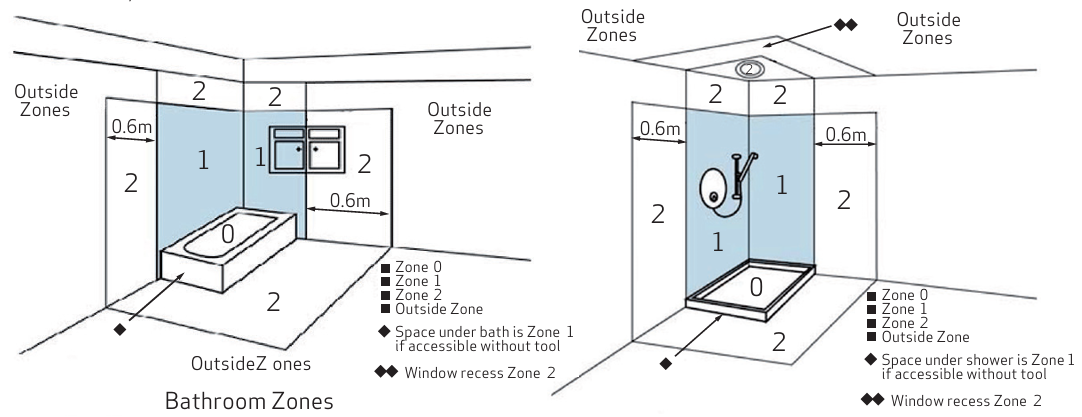
For more information on this please read our TapBoost installation guide and see section 6 – Additional Safety Instructions for Bathroom & Shower Room Installation.
-
Ensure You Have Enough Space Around the Unit
TapBoost requires sufficient space for proper airflow and easy access for maintenance. Check the installation area to make sure it meets these requirements before proceeding.
-
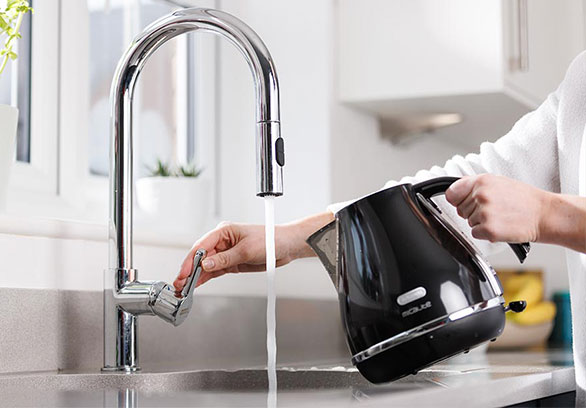
Install as Close as Possible to the Outlet
For the best performance, install TapBoost as near to the outlet as possible. This helps maximise the effectiveness of the pump in boosting water flow.
-
Check the Arrow on TapBoost for the Correct Flow Direction
Before finalising the installation, ensure the arrow on TapBoost aligns with the direction of water flow. Installing it the wrong way will prevent it from working properly. Its important to ensure the orientation of TapBoost as it can be installed vertically or horizontally but not upside.
-
Will You Require Non-Return Valves?
For mixer taps and thermostatic mixed showers where only one supply is boosted by TapBoost, a non-return valve should be installed on the unboosted supply (if not already fitted) to prevent backflow. It is essential to ensure that the hot and cold feeds remain balanced.
-
Use Isolation Valves for Easy Maintenance
Even if not required, installing an isolation valve before and after TapBoost can make future maintenance much easier. They allow for quick isolation of the TapBoost unit when necessary.
-
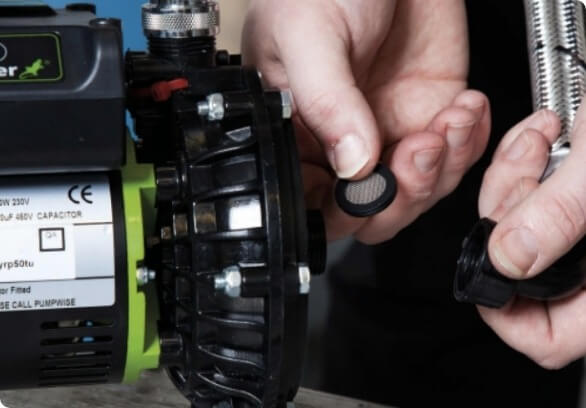
Make Sure You Have Used the Inlet Filter Washer
Every TapBoost comes with two inlet filter washers to prevent debris from entering the system. One is already installed in the unit and a spare is supplied in the box.
Installing the filter washer ensures smooth operation and longevity of your TapBoost unit.
If you get stuck or need assistance, don’t hesitate to give us a call for support 0191 516 2002.